|
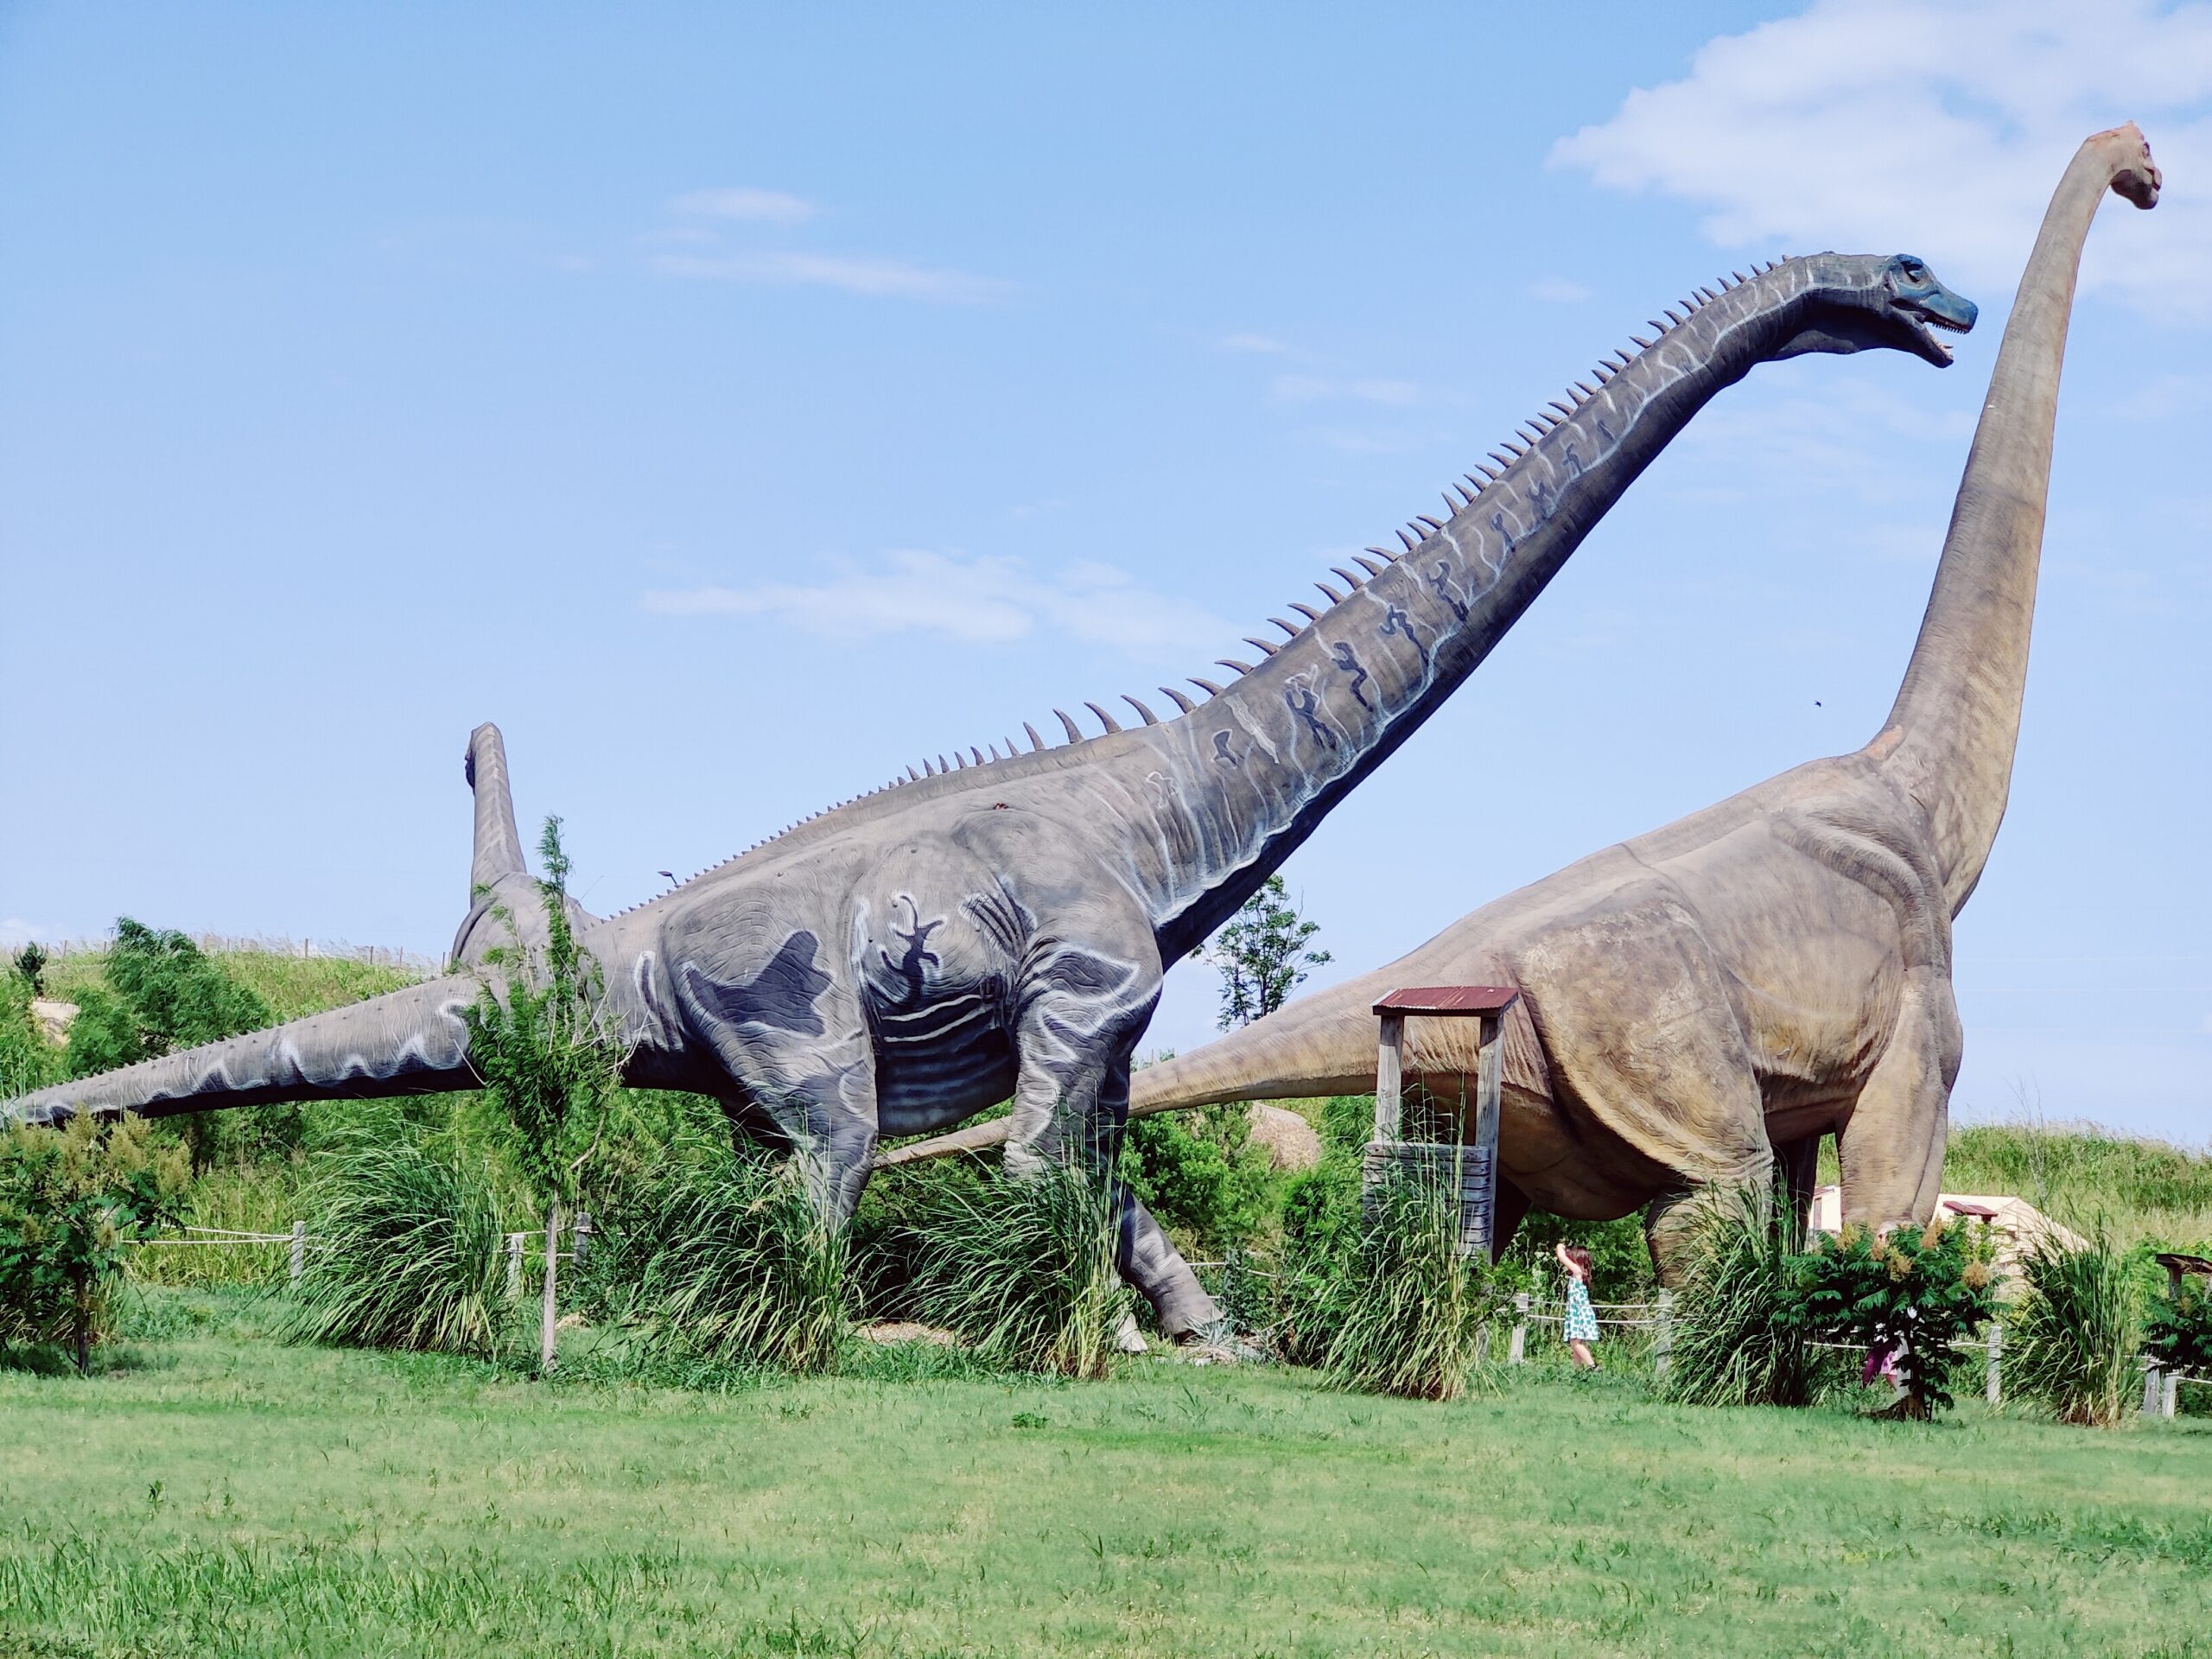
Installing large animatronic dinosaurs requires careful planning to ensure safety and performance. For example, most models weigh over 500 kg (1,100 lbs), so the ground must support at least 1.5 times that weight to prevent sinking. Power sources should be within 15 meters (50 feet) to avoid voltage drops, and outdoor setups need waterproof covers for electronics. Clear at least 2 meters (6.5 feet) of space around moving parts to prevent collisions. Flat and Stable Ground NeededAnimatronic dinosaurs aren’t just heavy—they’re 500 kg to 2,000 kg (1,100 to 4,400 lbs) of moving parts, electronics, and structural framing. If the ground isn’t level, even a 5° slope can shift weight unevenly, straining motors and joints. Over time, this misalignment increases wear, cutting the lifespan of mechanical parts by 30–50%. For outdoor setups, soil compaction matters. Loose dirt or sand can settle, causing the dinosaur to tilt. A 10 cm (4-inch) drop on one side might not seem like much, but it can jam gears or bend support frames. Indoors, concrete floors must handle at least 2,500 kg/m² (500 lbs/ft²) to prevent cracking. A simple fix? Use a laser level to check for slopes above 1° and reinforce soft spots with compacted gravel or steel plates. This small step prevents 500–2,000 in repairs per year. Why Uneven Ground is a Problem Weight Distribution Issues A 2,000 kg (4,400 lb) T. rex exerts ~1,000 kg (2,200 lbs) per leg when moving. If one side sits 3 cm (1.2 inches) lower, the load shifts 15–20% more to that leg, straining hydraulic systems. Motor and Gear Stress Motors designed for 0.5–1.5 RPM can overheat if forced to compensate for tilt, reducing efficiency by 10–25%. Repeated stress on gearboxes can shorten their 50,000-hour expected lifespan by half. Structural Warping Over Time Steel frames can bend under uneven loads, creating 1–3 mm gaps in joint connections. These gaps lead to vibrations, increasing noise by 5–10 decibels and risking bolt loosening. How to Check and Fix It Use a bubble level (accuracy ±0.5°) or laser level (±0.1°) to measure slope. For outdoor setups, dig 10–15 cm (4–6 inches) deep, fill with compacted gravel (95% density), and top with a steel plate (min. 6 mm thick). Indoors, place 1 cm (0.4-inch) rubber pads under legs to absorb minor floor imperfections. Ignoring this can mean 200–800 in extra maintenance per year—far more than the 50–200 it costs to level the ground properly. Power Supply Must Be CloseAnimatronic dinosaurs don’t just move—they need consistent, high-power electricity to run motors, sound systems, and lighting. Most units require 1,500W–3,000W (6–12A at 240V), and if the power source is too far, voltage drop becomes a real problem. For example, a 30-meter (100-foot) cable run using standard 2.5mm² (AWG 13) wire can lose 5–8% voltage—enough to make a dinosaur’s movements sluggish or cause electronics to reset. Thicker 4mm² (AWG 11) cables help, but beyond 50 meters (165 feet), even those struggle without a booster transformer. Indoor setups usually tap into dedicated 20A circuits, while outdoor installations need weatherproof junction boxes placed within 15 meters (50 feet) to avoid power fluctuations. Skimping on this leads to 15–30% higher failure rates in servo motors and control boards. Why Cable Length Matters Voltage Drop & Performance Loss Every 10 meters (33 feet) of 2.5mm² cable loses 0.5–1V under load. If voltage falls below 210V (from 240V), motor torque drops 10–15%, making movements jerky. Heat Buildup in Thin Wires A 3,000W dinosaur running on undersized 1.5mm² (AWG 15) wires can heat cables to 60–70°C (140–160°F)—close to melting insulation. Overheated wires lose efficiency, wasting 8–12% of input power as heat instead of motion. Cost of Long Cable Runs 50 meters of 4mm² outdoor-rated cable costs 200–400, while a local transformer (for 100m+ runs) adds 500–1,200. Cheaping out leads to 150–500/year in fried control boards or motor replacements. How to Set It Up Right Keep power sources within 20 meters (65 feet) for stable 240V supply. Use 4mm² (AWG 11) cables for runs over 15 meters (50 feet). For distances beyond 50 meters (165 feet), install a step-up transformer (240V→400V) to compensate for drop. Outdoor wiring must be IP67-rated and buried 30 cm (12 inches) deep to prevent damage. A proper setup avoids 3–5 unexpected shutdowns per month and extends motor life by 2–3 years. Cutting corners here means higher repair bills—up to 4x the cost of just running thicker cables upfront. Strong Support for Heavy WeightAn average animatronic dinosaur weighs 800–2,500 kg (1,750–5,500 lbs)—about the same as 3–10 full-size refrigerators standing in one spot. If your floor or ground isn’t prepped, that weight can cause: Concrete cracks (if load exceeds 3,000 kg/m² / 600 lbs/ft²) Sinking in soil (if bearing capacity is below 10,000 kg/m² / 2,000 lbs/ft²) Structural flexing in wooden floors (if joists aren’t rated for 400 kg/m² / 80 lbs/ft²) A T. rex with a 300 kg (660 lb) head moving side-to-side adds 50% more dynamic load—so weak floors buckle over time. Step 1: Test Your Surface For Concrete Floors: Check thickness: 10 cm (4 inches) minimum for small dinosaurs (800 kg), 15 cm (6 inches) for large ones (2,500 kg). Use a core drill test to verify PSI: ≥3,000 PSI required. Older slabs (<2,500 PSI) may need reinforcement. For Outdoor Ground: Perform a plate load test: A 30 cm (12-inch) steel plate should sink <5 mm (0.2 inches) under 1,500 kg. If soil is sandy/clayey, mix in compacted gravel (150 mm/6-inch layer) to boost stability. For Wooden Floors: Joists must be 40x200 mm (2x8 inches) on 40 cm (16-inch) centers, or add steel cross-bracing. Step 2: Reinforce Weak Spots Steel Spreader Plates Use 10 mm (0.4-inch) thick plates under each foot to distribute weight. Size calculation: Dinosaur weight (kg) ÷ 500 = Plate area (cm²). Example: 1,500 kg ÷ 500 = 30x30 cm (12x12-inch) plates. Concrete Piers (Outdoors) Dig 60 cm (24-inch) deep, pour 20 cm (8-inch) diameter concrete footings with rebar. Costs: 50–150 per pier vs. $2,000+ for floor repairs later. Step 3: Monitor Over Time Check for new cracks >2 mm (0.08 inches) in concrete every 6 months. Use a digital level to detect tilting (>1° change = risk). Cost of Ignoring This: 3,000–10,000 for slab replacement. 25% shorter lifespan for dinosaur mechanisms due to constant misalignment. Tip: Rent a load cell tester ($200/day) to simulate weight before installation. One day of testing beats months of structural headaches. Enough Space for MovementA 6-meter (20-foot) animatronic T. rex doesn’t just stand still—its tail swings 2.5 meters (8 feet) side-to-side, and its head lunges forward 1.8 meters (6 feet) at full extension. If you give it less than 4 meters (13 feet) of clearance, you’re looking at: 500–2,000 in repairs per collision (broken tail mechanisms, dented walls) 15–30% faster wear on joints due to forced movement restrictions Safety hazards (a 200 kg / 440 lb limb hitting at 0.5 m/s / 1.6 ft/s delivers ~100 joules of force—enough to fracture drywall) Step 1: Measure the Dinosaur’s "Attack Radius" Every model has a movement envelope—the 3D space it needs to operate safely: Tail swings = 1.5x base length (e.g., a 3m tail needs 4.5m clearance) Head/neck reach = 1.2x standing height Leg stride = 0.8x hip-to-foot distance Example: Tail zone: 3.7m (12 ft) diameter Head strike zone: 2.4m (8 ft) forward Total floor space needed: 7x10m (23x33 ft) Step 2: Map Your Installation Site Use laser distance measurers (±1 cm accuracy) to: Mark "no-go zones" (walls, pillars) with tape Add 50 cm (20 in) buffer zones beyond the movement envelope Check ceiling height—minimum 1.5x dinosaur height to avoid head strikes Common Mistakes: Assuming static displays need less space (hydraulic drift can add 10–20 cm / 4–8 in of unplanned movement) Ignoring crowd barriers (visitors add 0.5m / 1.6 ft to required clearance) Step 3: Test Before Final Placement Run 3 full motion cycles with the dinosaur 80% powered to observe reach Use temporary foam markers to simulate walls during testing For rotating dinosaurs, calculate centrifugal force: A 200 kg tail rotating at 15 RPM generates 120 N of outward force Cost of Getting It Wrong: 200–800 per incident for wall repairs/repainting $1,500+ for gearbox replacements from repeated impact damage 2–3 week downtime while fixing collision damage
Protection from WeatherAnimatronic dinosaurs left exposed to the elements face 3-5x faster wear than indoor models. Just 6 months of direct sunlight can: Fade paint by 40-60% (requiring 800-2,500 repaints) Crack rubber skin at joints (80% failure rate in temperatures below -10°C/14°F or above 45°C/113°F) Corrode internal steel frames when humidity exceeds 70% RH for >30 days/year Rain is worse—50mm (2 inches) of weekly rainfall leads to: 15% chance of short circuits in unprotected electronics 90% probability of mold in foam padding within 1 year Step 1: Choose the Right Location Best Case: Under cantilever roofs extending 1.5x the dinosaur's height On 2-5° sloped concrete (1cm per meter) for drainage Minimum 3m (10ft) from sprinklers/pools Worst Case: Low-lying areas (collects water - +300% rust risk) South-facing walls in hot climates (+8°C/14°F surface temp vs shaded areas) Within 15m (50ft) of ocean (salt corrosion 10x faster) Step 2: Weatherproofing Essentials For Electronics (Control Boxes/Motors): IP67 enclosures (120-400 per unit) Silicone grease on connectors ($15/tube, lasts 2 years) Monthly dielectric testing (>10MΩ resistance required) For Mechanical Parts: Stainless steel bearings (Grade 316, lasts 8-12 years vs standard's 3-5) UV-resistant silicone spray on joints ($25/can, reapply every 6 months) For Skin/Appearance: Automotive-grade clear coat (3-layer, 600-900 application) Wax coating (every 3 months in humid climates) Step 3: Emergency Protocols When >25mm (1 inch) rain forecasted: Cover with breathable tarp (500gsm minimum) Disable movement functions (prevents water ingress in gears) Raise 10cm (4 inches) on plastic pallets if ground flooding possible Winter Specifics: Drain all pneumatics when temps drop below 5°C/41°F Install 300W heating pads ($80 each) in control boxes Cost Comparison: Proper weatherproofing: 1,500-4,000 upfront No protection: 5,000-12,000 in repairs over 5 years Pro Tip: Use corrosion coupons ($50/set) - place near dinosaur and check every 3 months to predict metal degradation rates.
Safe Distance from VisitorsA 1-ton animatronic dinosaur’s tail swinging at 1.2 m/s (4 ft/s) generates over 200 joules of impact energy—enough to fracture a child’s arm. Industry data shows: 68% of accidents occur when visitors breach the 1-meter (3.3 ft) minimum barrier 90% of lawsuits involve injuries from head/neck movements (average settlement: $85,000) 15% performance drop occurs when operators reduce motion ranges for safety Step 1: Calculate Your Danger Zones Every dinosaur has 3 risk areas: Strike Radius Tail swings: 1.8x base length (4m tail → 7.2m danger zone) Head thrusts: 1.5x neck length Foot stomps: 0.6m (2 ft) splash zone for debris Pinch Points Jaw mechanisms require 50cm (20in) clearance Rotating joints need 30cm (12in) gaps Projectile Risk Loose teeth/claws can travel 3-5m (10-16 ft) at 9 m/s (30 ft/s) Step 2: Install Effective Barriers Physical Barriers (Most Effective) 1.2m (4 ft) high railings placed 1.5x strike distance away Kevlar-reinforced acrylic panels (6mm thick, $180 per 1.2m section) Weighted stanchions (50kg base minimum) spaced every 2.4m (8 ft) Virtual Boundaries (For Aesthetics) Pressure-sensitive mats ($40/m²) triggering alarms at 80kg load Laser tripwires (3cm accuracy) reducing dinosaur speed by 50% when breached Step 3: Manage Crowd Flow Allow 0.5m² (5 ft²) per visitor at viewing areas Post multilingual warnings every 6m (20 ft) Train staff to enforce 30cm (1 ft) "no reach" rule Maintenance Impact Barriers increase service access time by 12-18% Safety systems add 0.15-0.40 per operating hour in power/upkeep Cost of Poor Safety
Pro Tip: Use slow-motion cameras ($1,200) to analyze near-misses during the first 200 operating hours—this catches 93% of potential hazards before accidents occur. |