|
Hey there, curious minds! Ever stared at those incredibly lifelike animatronic dinosaurs and thought, "How on earth did they bring these prehistoric beasts back to life?" Well, buckle up! I'm about to take you on a wild ride through the entire process of crafting an animatronic dinosaur, from picking out the perfect materials to the final tweaks that make it truly roar to life. Let's get started!
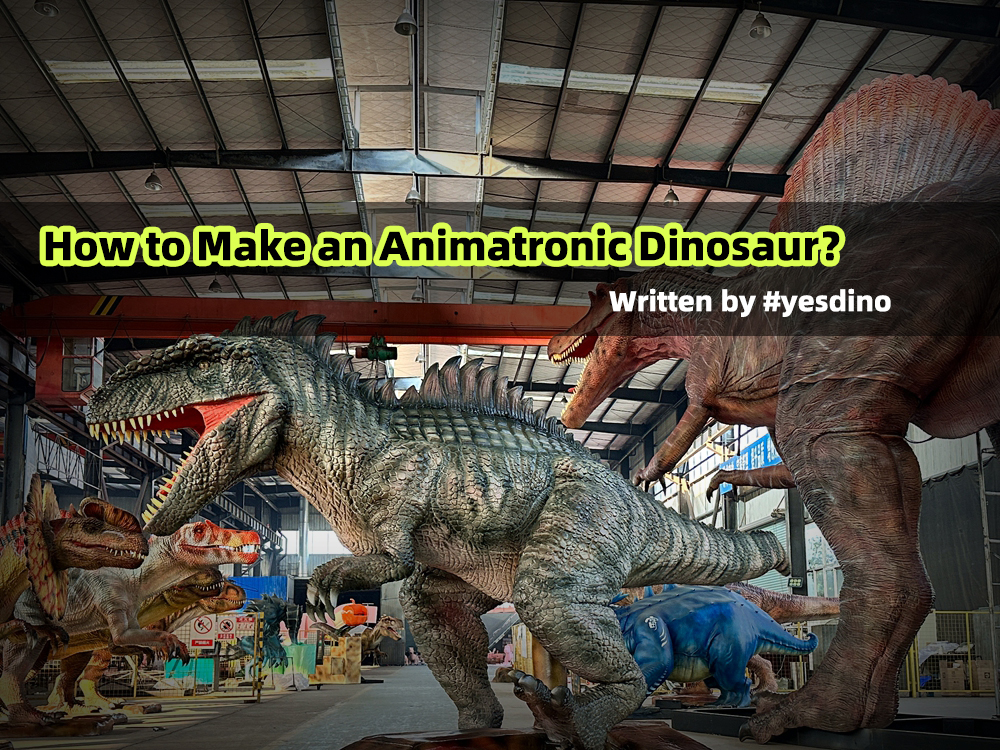
Materials You'll NeedFirst things first, let's chat about the essential ingredients that bring these ancient giants back from the dead.
The Inner Skeleton: Our animatronic dinosaurs start with a rock-solid metal frame, usually made from carbon steel or stainless steel. Think of it as the dinosaur's backbone-it's what gives the moving parts and outer skin the support and durability they need. Common choices include 45# carbon steel, Q235 carbon steel, 304 stainless steel, and 316L stainless steel. Now, stainless steel can be pretty pricey. That's why we often go for carbon steel and give it multiple coats of anti-rust paint. It's not about cutting corners! After proper rust prevention, carbon steel can handle around 90% of scenarios, and stainless steel often drives up costs way beyond what most clients are willing to pay. Gears, Motors, and Movement Makers: To make our dinos strut, roar, and blink, we install a whole bunch of drive mechanism and motors. These are like the dino's muscles and joints. You'll find different types of motors in the mix-from basic 24V DC motors (the budget-friendly option) to closed-loop stepper motors and high-end AC servo motors (which give the smoothest movements and are quickly becoming the industry standard). Skin Deep: For that realistic look, we use top-notch, durable materials to mimic the texture and appearance of real dinosaur skin. It's a combo of high-density artificial sponge, premium silicone, and 3D printing materials, all carefully sculpted to make it look like the real deal. Color Me Dino: We create that authentic dino look with a special blend of high-quality oil paint and silicone. Here's the cool part: when the oil paint mixes with diluted silicone, it keeps its color. And once it dries, it forms a clear silicone protective layer that shields the paint from rain, dust, and fading. Teeth and Talons: For the teeth and nails, we turn to fiberglass. It's super moldable, rock-hard, and feels just like real keratin. Plus, if something happens to them-like a little "dino vandalism" or normal wear and tear-clients can easily make replacements. Brainy Electronics: These dinos come with electronic control systems that let us program and control their movements, sounds, and lighting. We're talking user-friendly, reliable systems that can handle any environment. You'll often find C52 microcontrollers, STM32 microcontrollers, or AVR-series microcontrollers at work, all programmed using languages like C, Java, and Python.
The Making ProcessNow that we've got our materials sorted, it's time to roll up our sleeves and start building! Here's a step-by-step breakdown of how we bring these animatronic dinosaurs to life.
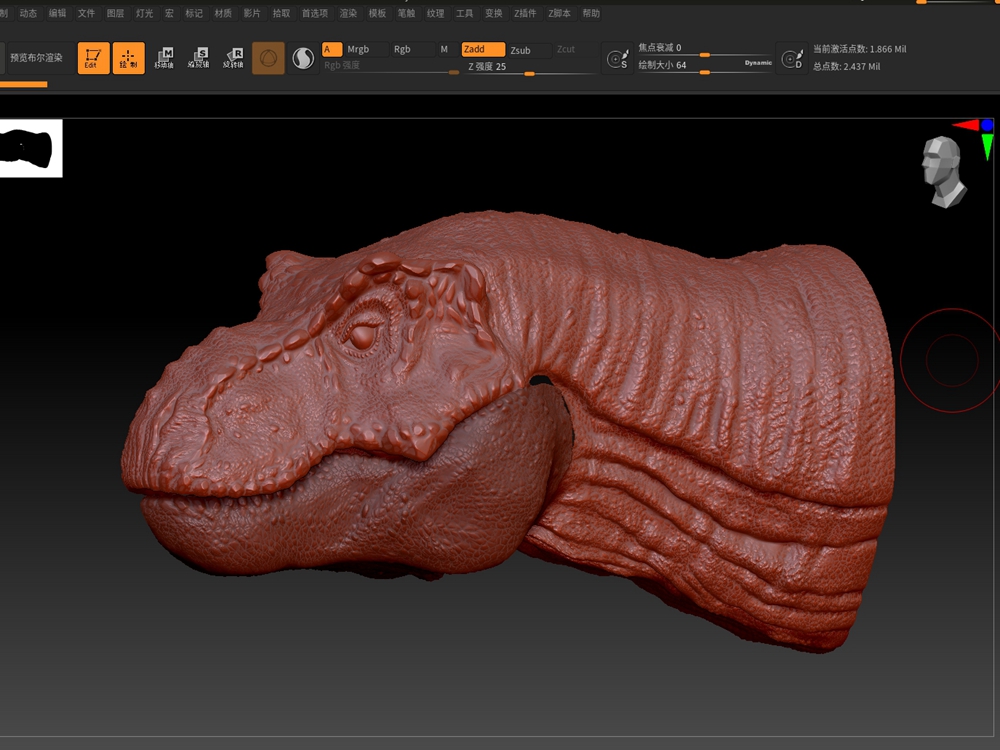
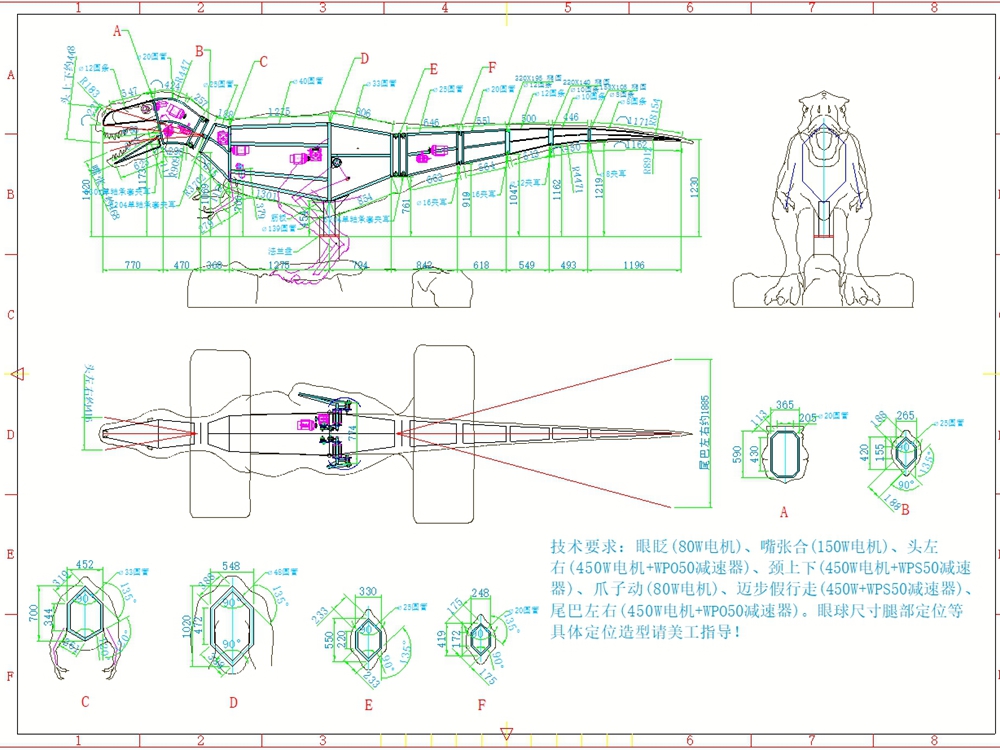
Step 1: Dream It Up-Design and PlanningConcept Creation: The adventure begins with dreaming up the perfect dino. We dive deep into research, studying different dinosaur species, their anatomy, and how they behaved. Then, we brainstorm designs that capture their unique personalities. Sketch and Model: Once we've got an idea in mind, it's time to get creative. We draw detailed sketches and build 3D models. These are like our dino blueprints, helping us visualize the final product and make any changes before we start building. Engineering and Prototyping: With the design locked in, we move on to the engineering phase. This means creating super-detailed technical drawings and specs for the metal frame, drive mechanism,motors, and all the other parts. Then, we build a prototype to test everything out and make sure it works as planned.
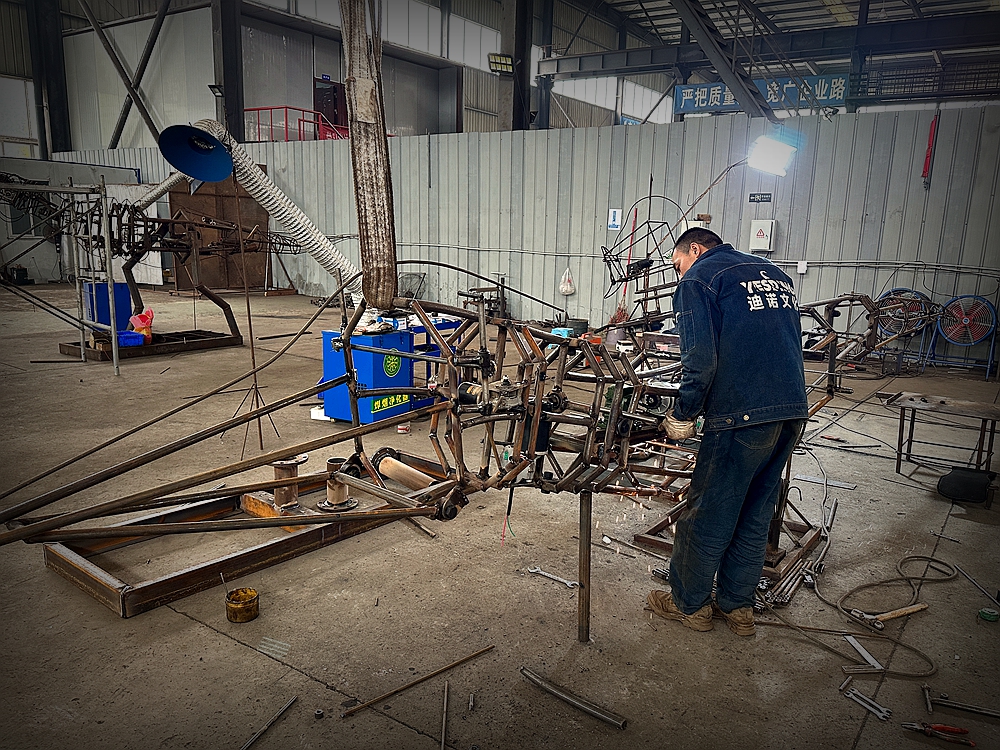
Step 2: Build the Bones-Dinosaur Skeleton WeldingCut and Weld: The metal frame is the heart of our dino, so we make sure it's tough as nails. First, we use cutting machines to shape metal pipes and sheets, then we weld all the pieces together to form the frame. Assemble and Install: Once the frame is ready, it's time to add the drive mechanism,motors, and other mechanical bits. It's like putting together a really cool, giant puzzle-everything has to line up just right to make our dino move smoothly.
Step 3: Power Up-Electronics Installation and ProgrammingHook It Up: The electronics and control systems are what make our dino tick. We install sensors, controllers, wires, and all the other electronic components inside the dino's body and connect them all to create a network that controls the movements, sounds, and lights. Code and Test: After everything's plugged in, we use programming software to bring our dino to life. We program its movements to match exactly what the client wants. Then, we run tests, check if everything's working, and make adjustments. We also "break in" the mechanical parts to make sure they work perfectly.
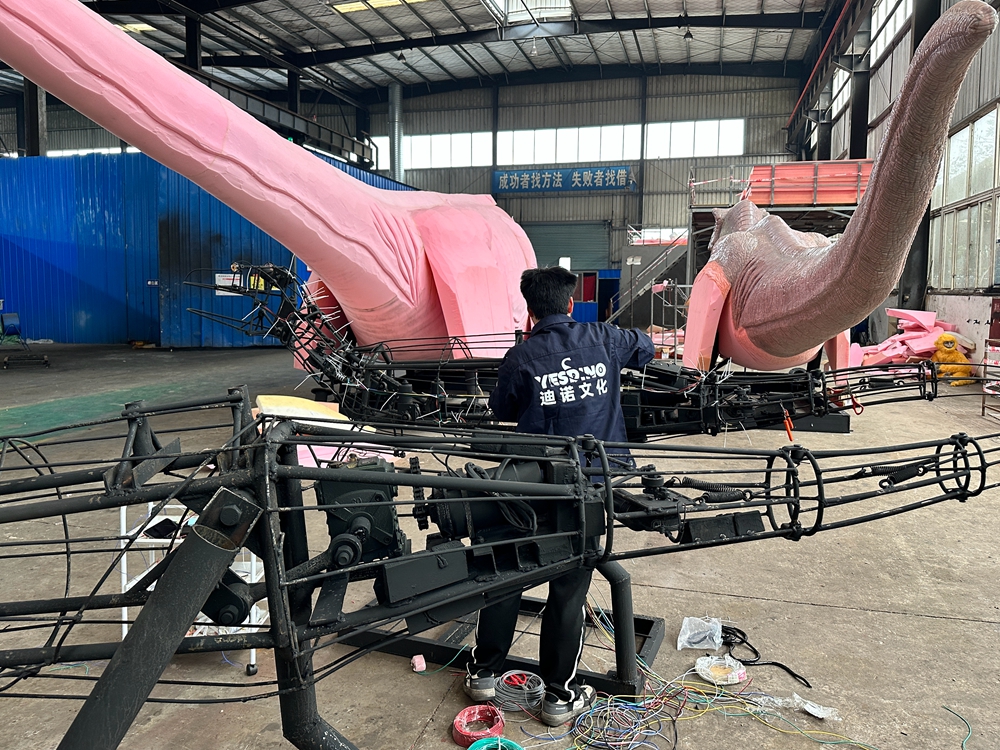
Step 4: Skin It-Skin CreationSculpt and Mold: The skin is what gives our dino that realistic look. We start by sculpting the shape and muscle details with high-density artificial sponge, and we often go back and forth with clients to get it just right. Texture and Build: Once the shape is done, it's time to add texture. Our patient team members use a hot soldering iron to create skin folds and textures on the sponge (usually 3mm - 10mm deep). Then, we use silicone as glue to cover the textured surface with special fiber cloth and press it down hard. This not only makes the skin look real but also makes it stronger.
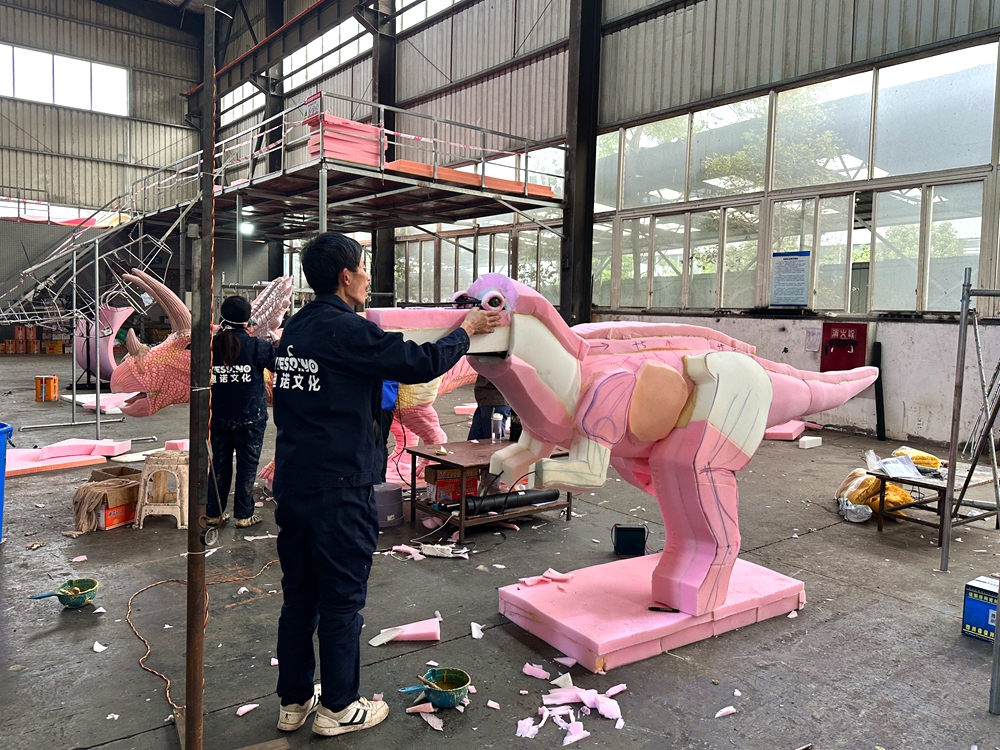
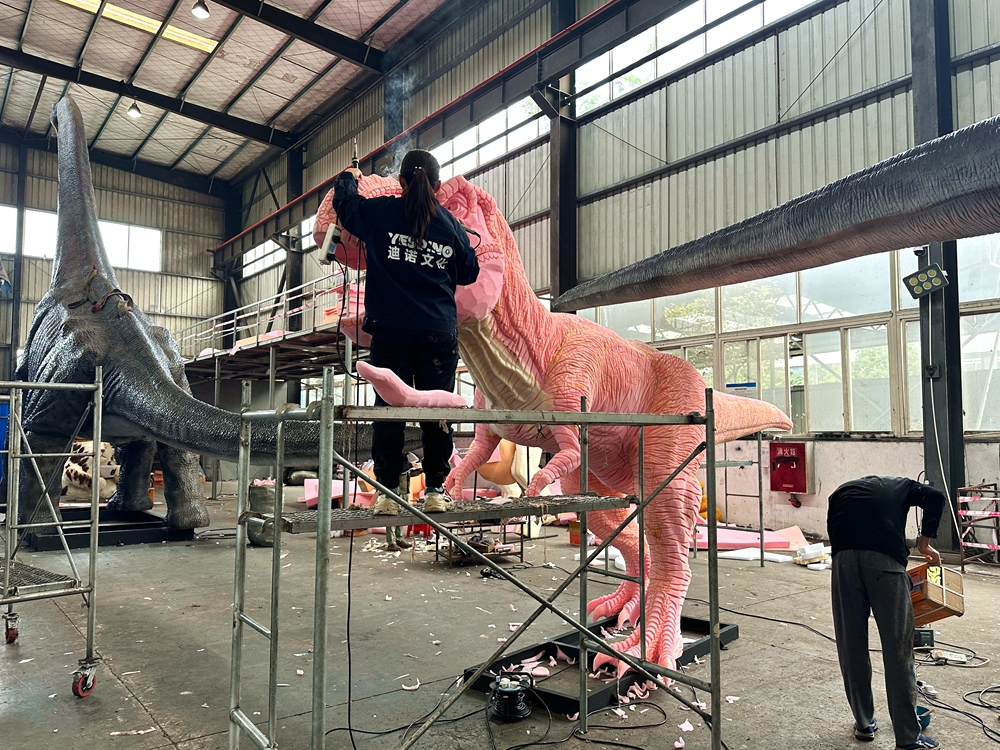
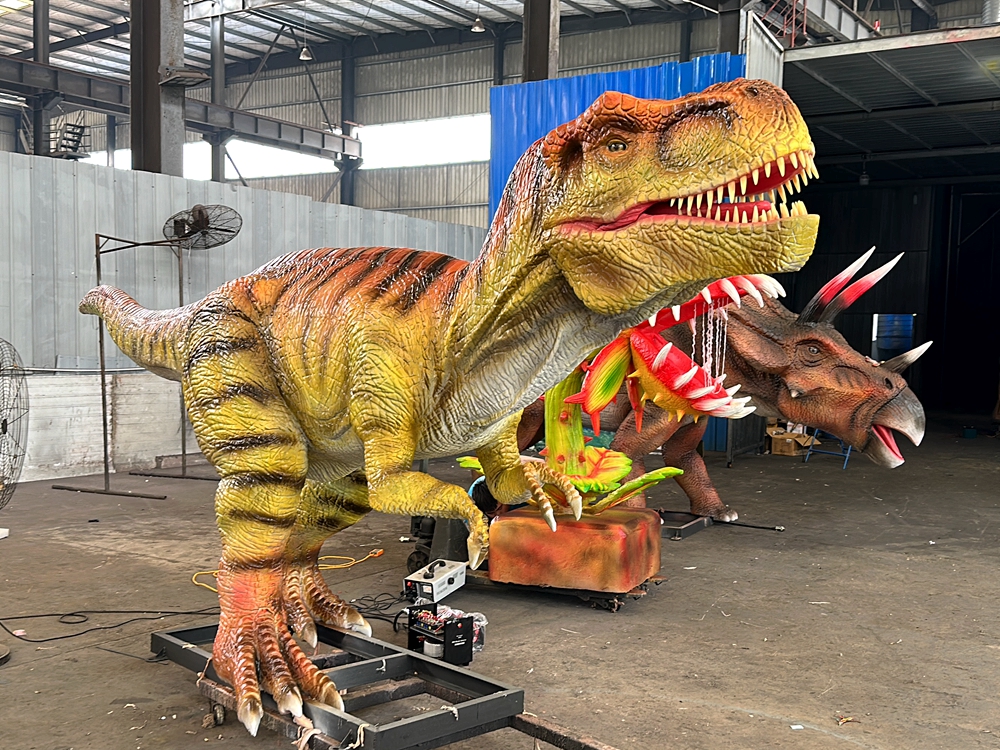
Step 5: Paint the Town Dino - Skin ColoringWe use oil paint mixed with silicone thinner to spray the dino's skin. First, we lay down a white base coat, then layer on different colors to create depth. Finally, we spray on a clear silicone thinner to protect the paint job.
Step 6: Final TouchesAccessorize: Once the paint is dry, we attach the teeth, tongue, and claws. And just like that, our dino starts to look ready to roam! Quality Check: Before sending our dino off to its new home, we run a super thorough inspection. We test the mechanical parts, electronics, and control systems, and make sure the skin looks great and can stand up to the elements.
The Hurdles We FaceMaking animatronic dinosaurs? It's no walk in the park! Here are some of the challenges we run into along the way:
Mechanical Mayhem: Designing and building those mechanical parts takes some serious mechanical engineering know-how. We've got to make sure everything's strong enough to handle constant use without falling apart. Electronics and Coding Conundrums: The electronics and control systems are super complex. We need experts who can create reliable, easy-to-use systems that control every little movement, sound, and light effect perfectly. Artistic Obstacles: Creating that lifelike skin is an art form. Our team needs top-notch sculpting and painting skills to make the skin look and feel real and keep it looking great in all kinds of weather. Safety First: Since these dinosaurs often end up in public spaces, safety is our number one priority. We have to make sure they meet all the safety standards and regulations, which means lots of testing and inspections.
A Word to Our Future Dino OwnersCrafting an animatronic dinosaur is a wild, challenging journey that requires expertise in mechanical engineering, electronics, programming, sculpting, and painting. But when it's all said and done, the result is something truly spectacular-a lifelike creation that'll amaze audiences of all ages. So, if you've got a dino dream, don't settle for anything less than an experienced, skilled, and quality-focused team to bring it to life! |


